Docs / Getting started / The tool window
The tool window
A map of the numbered, collapsible workflow cards.
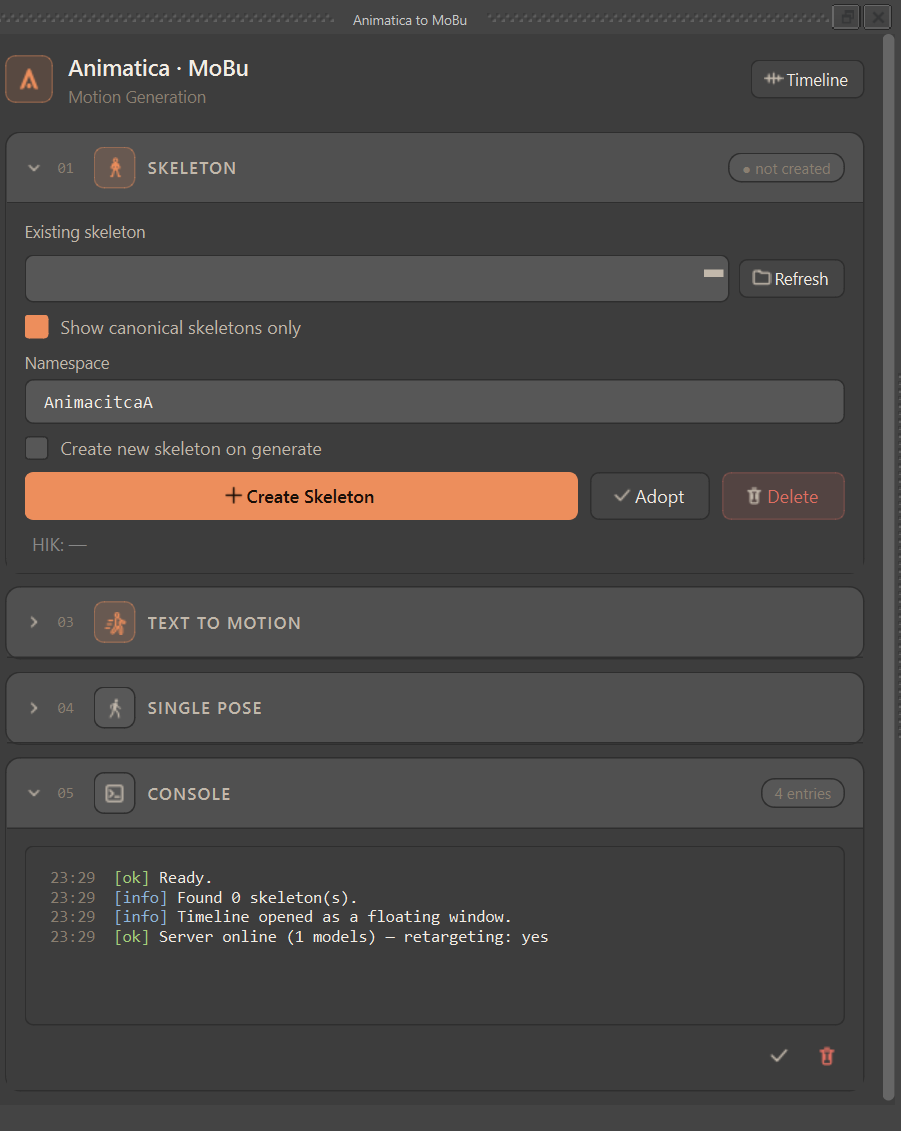
The window is a stack of numbered, collapsible workflow cards. The numbers suggest the natural order of work, top to bottom. Each card has a header (click to collapse/expand) and often a status pill on the right. Many groups carry a small Reset button in their header that restores just that group's fields to defaults.
| # | Card | What it's for |
|---|---|---|
| 0 | Settings | Backend, server/login, story path, naming, and global options. |
| 1 | Skeleton | Pick, create, adopt, or delete the rig the motion applies to; HIK status. |
| 2 | Motion Import | Load motion from an .npz / .bvh / .glb / .gltf file. (hidden by default) |
| 3 | Text to Motion | The main event: prompt, parameters, output target, and Generate. Contains the Constraints sub-card. |
| 4 | Single Pose | Generate one pose at the current frame. |
| 5 | Console | Timestamped log of everything the tool does. |
| 6 | Prompt Timeline | Visually sequence multiple prompts and place constraints in time. |
Three windows — The main window holds cards 01, 03, 04 and 05. Settings (00) opens as its own Animatica Settings window, and the Prompt Timeline (06) opens as a separate floating window via the Timeline button in the top-right of the main window. Motion Import (02) is hidden until you enable it in Settings.